



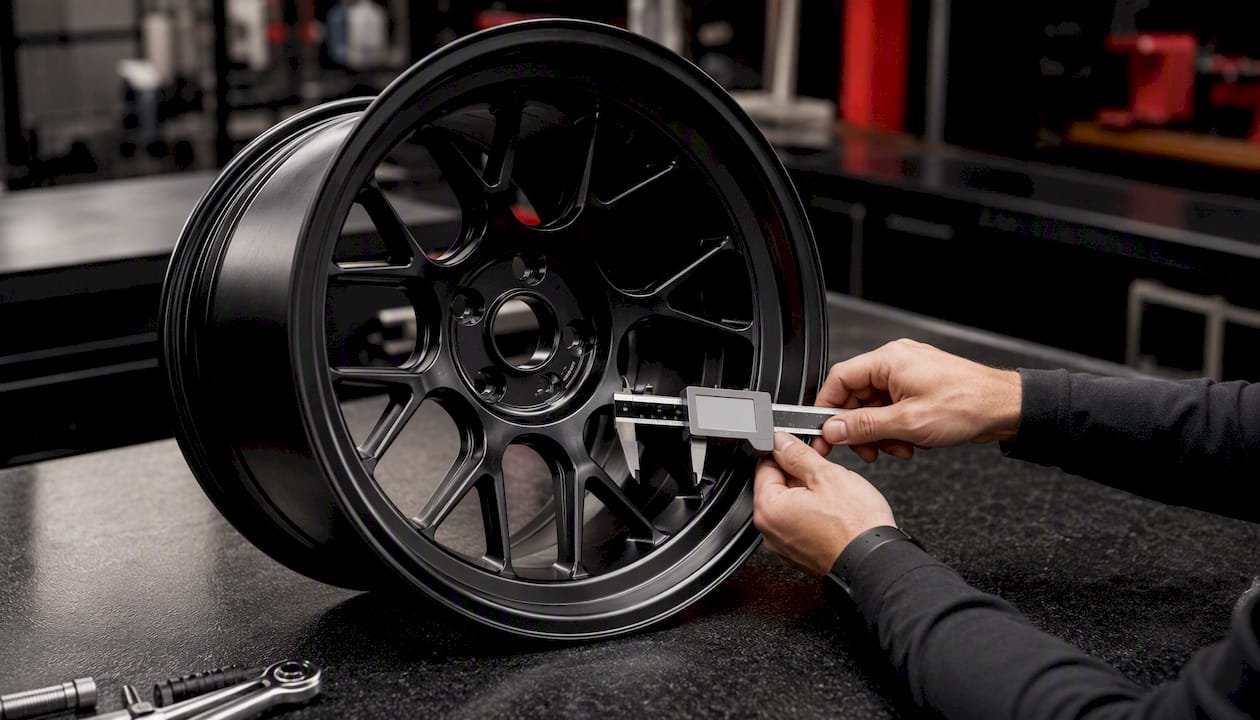
Wheel offset, marked ET on the barrel or spec sheet, is the distance in millimeters from the wheel’s hub-mounting surface to its true centerline. Get that number wrong by even a small margin and the result is fender rub, a caliper hitting the barrel, or steering that suddenly feels heavier at parking-lot speeds. A factory wheel might read ET+45. An aftermarket wheel at ET+35 pushes the same tire 10 mm further out toward the fender, changing scrub radius, bearing load, and stance all at once. Wheel sizing notation like 17×8.5×+35 packs diameter, width, and offset into one string, and every one of those three numbers has to work together or the wheel simply won’t sit right.
Key Takeaways
Offset determines fitment, handling, and stance simultaneously, and a 5 mm change is often the margin between clean clearance and a caliper strike.
| Point | Details |
|---|---|
| Definition | Offset (ET) is the distance in millimeters from the mounting surface to the wheel’s true centerline. |
| Measurement step | Calculate offset as backspacing minus centerline, then convert inches to millimeters by multiplying by 25.4. |
| Safe delta rule | Stay within roughly 5 mm of factory offset unless spacer testing has already confirmed clearance. |
| Spacer test | Use thin spacers first to simulate a lateral offset change before committing to new wheels. |
| Brake and clearance check | Confirm caliper clearance and full-lock steering room before finalizing any wheel purchase, a step Asmsportstech builds into every platform-specific fitment. |
Table of Contents
- What Wheel Offset Actually Measures
- What Do Positive, Zero, and Negative Offset Mean?
- Offset vs Backspacing: How the Math Actually Works
- How Does Offset Change Handling and Fitment?
- How to Measure Your Current Offset and Test Fitment
- What’s the Safe Offset Change From Stock?
- Common Offset Mistakes and Red Flags to Watch For
- Quick 7-Point Wheel Fitment Checklist
- Does Offset Affect Tire Wear and Safety?
- Do Trucks, Cars, and Sports Cars Need Different Offset Approaches?
- How Does Offset Change a Car’s Stance?
- Which Aftermarket Mods Change Your Effective Offset?
- An Engineer’s View on Offset, From the ASM Bench
- Get Matched Forged Wheels Built for Your Exact Fitment
- Sources
What Wheel Offset Actually Measures
Offset is not the same as wheel width, and it’s not backspacing, though people conflate all three constantly. The ET value is measured from the mounting pad, the flat surface where the wheel bolts to the hub, out to an imaginary line running through the exact center of the wheel’s width. That measurement is expressed in millimeters, written as a signed number: ET35, +35, or sometimes just “35” depending on the manufacturer’s stamp.
A typical wheel spec string looks like 17×8.5×+35. Here’s what each segment means:
- 17 is the wheel diameter in inches.
- 8.5 is the wheel width in inches, measured bead seat to bead seat, not edge to edge.
- +35 is the offset in millimeters, positive meaning the mounting surface sits toward the outside (street side) of centerline.
That width figure trips up more buyers than any other part of the equation. Manufacturers list width from bead seat to bead seat, but the physical wheel, flange included, measures roughly 22 mm wider than the advertised spec because each outer flange adds about 11 mm. Picture the wheel face-on: the mounting pad sits somewhere between the two bead seats, and how far it sits toward the outboard edge versus the inboard edge is what the ET number is actually describing.
Pro Tip: Never measure width by laying a tape across the outer lip edges. You’ll get a number roughly 22 mm too wide and every offset calculation built on it will be wrong.
What Do Positive, Zero, and Negative Offset Mean?
Positive offset places the mounting surface toward the front, or street side, of the wheel’s centerline. The wheel tucks in closer to the suspension and further from the fender lip. Most modern front-wheel-drive sedans and crossovers ship with positive offset, often somewhere between ET+35 and ET+50, because it keeps the tire from fouling the fender arch on a car designed for tight packaging.
Zero offset puts the mounting surface exactly on the wheel’s centerline. Half the wheel sits inboard, half outboard, evenly split.
Negative offset pulls the mounting surface toward the back, the suspension side, of centerline. The wheel pushes outward, past the fender line in extreme cases. Lifted trucks and off-road builds lean negative because it widens the track and clears larger tires and suspension components. Classic muscle cars and deliberate stance builds also chase negative offset for the deep-dish look, where the face of the wheel sits proud of the fender.
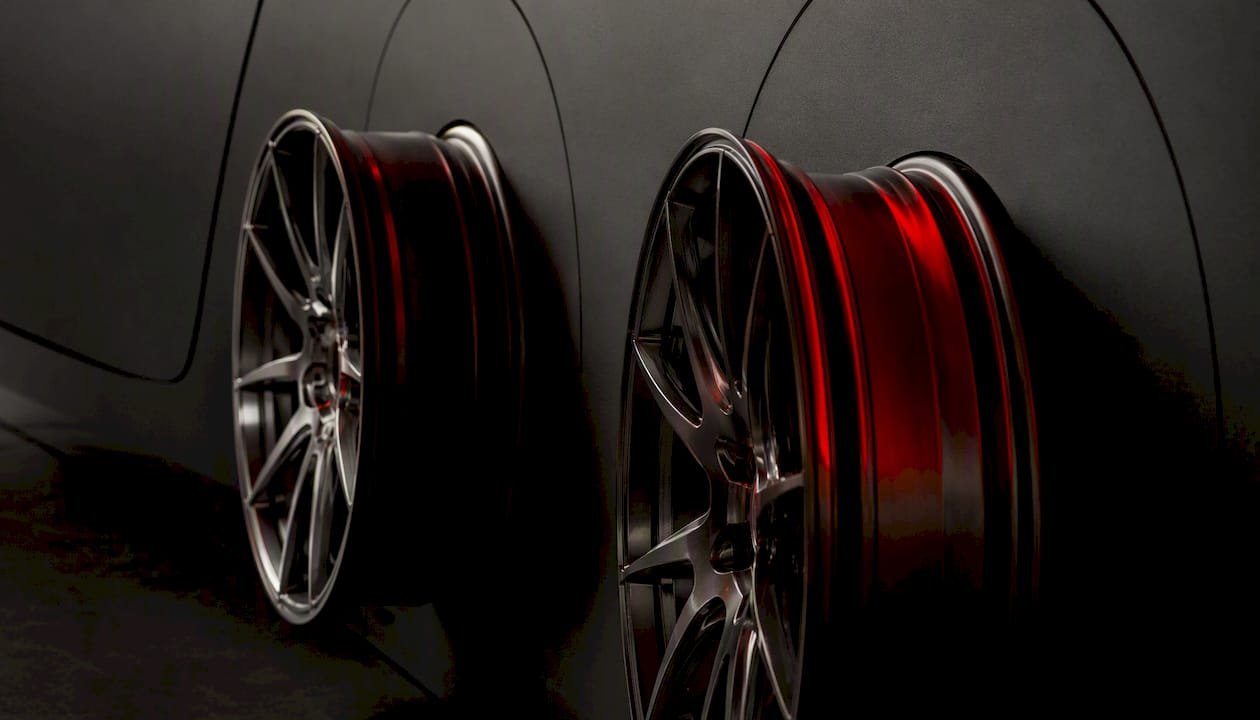
The visual difference is immediate once you see it: a positive-offset wheel looks tucked and conservative, while a negative-offset wheel sits flush or proud, which is exactly why stance culture and off-road culture chase opposite ends of the same spec.
Offset vs Backspacing: How the Math Actually Works
Backspacing measures something slightly different from offset. It’s the distance from the wheel’s mounting surface to the inboard edge of the barrel, not to the centerline. Trucks have historically used backspacing as the primary spec because inner clearance, brake calipers, suspension arms, differential housings, matters most on those platforms, according to Summit Racing’s fitment reference.
The conversion between the two is straightforward once you have total width. Engineer Skill’s measurement guide lays out the formula: measure total wheel width, divide by two to find the centerline, measure backspacing with a straightedge from the mounting pad to the outer lip, then calculate:
- Find centerline. Total width ÷ 2. An 8.5-inch wheel has a centerline at 4.25 inches from either edge.
- Measure backspacing. Lay a straightedge across the back of the wheel and measure down to the mounting pad in inches.
- Convert to offset. Offset = backspacing − centerline, then multiply the result by 25.4 to get millimeters.
A wheel with 8.5 inches of width and 5.75 inches of backspacing gives you: 5.75 − 4.25 = 1.5 inches, times 25.4 = 38 mm, close to a real-world ET+35 to ET+38 wheel once rounding and flange allowances are factored in.
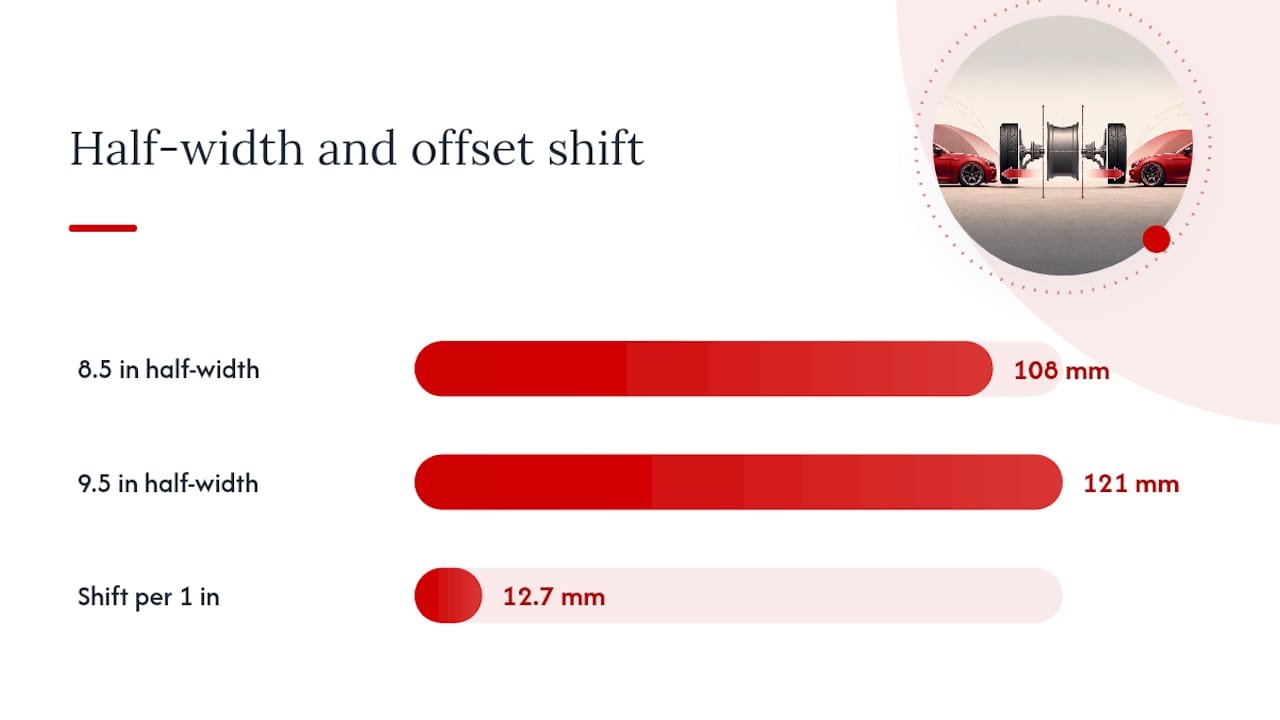
Width changes matter just as much as the offset number itself. Every 1 inch (25.4 mm) added to wheel width shifts the outer bead seat outward by 12.7 mm, half the width change, split evenly across both sides of centerline. So if you’re stepping from an 8.5-inch wheel to a 9.5-inch wheel and want the tire’s outer face to land in the same spot, you need to drop offset by roughly 12.7 mm to compensate.
How Does Offset Change Handling and Fitment?
Change the offset and you change two things simultaneously: how much room the tire has to the fender lip, and how much room it has to the strut, control arm, and brake caliper on the inside. Push offset lower (more negative) and the wheel moves outward, gaining fender clearance but eating into the space where the caliper, tie rod, and suspension components live.
The mechanical consequence that catches people off guard is scrub radius. Scrub radius is the distance between where the steering axis meets the ground and where the tire’s contact patch center sits. Offset changes shift that distance directly, because moving the wheel in or out relative to the hub moves the tire’s contact patch relative to the steering axis. A wider scrub radius typically means heavier steering effort at low speed, more feedback (or kickback) through the wheel over bumps, and in front-wheel-drive cars, a stronger pull to one side under hard acceleration, commonly called torque steer.
Bearing load is the quieter effect. Moving a wheel further from the hub increases the lever arm the bearing has to resist every time the car corners or hits a pothole. Wikipedia’s wheel sizing reference notes this load increase is subtle on modest offset changes but becomes material on extreme setups or heavily loaded vehicles, think a lifted truck running significant negative offset with a full bed of cargo.
- Excessive negative offset on trucks: fender clearance improves, but tie-rod ends and CV joints take more lateral stress, and premature wear shows up faster.
- Excessive positive offset on compact cars: the wheel tucks in so far it can contact the strut body or brake caliper before it ever touches the fender.
- Either direction, at the extreme, changes how the suspension’s motion ratio behaves, which can subtly alter effective spring and damper rates.
Pro Tip: Check brake caliper clearance before anything else. A caliper strike destroys a wheel’s inner barrel in one hard stop, and it’s the single most common casualty of an offset that’s too aggressive for the chassis.
How to Measure Your Current Offset and Test Fitment
Before ordering anything, measure what’s already on the car. This takes about twenty minutes with tools most home garages already have.
- Remove the wheel and lay it face down on a flat surface.
- Measure total width in inches from bead seat to bead seat (not edge to edge), then convert to centerline by dividing by two.
- Lay a straightedge across the back lip and measure down to the mounting pad, that’s backspacing.
- Calculate offset using backspacing minus centerline, multiplied by 25.4 for millimeters, following the same step-by-step method used to convert stock specs.
- Record the number, along with hub bore and bolt pattern, before shopping for anything new.
Math confirms the spec on paper. The real test happens on the car.
- Mount the wheel with the tire and torque it properly before inspecting anything.
- Turn the steering wheel to full lock in both directions with the car raised, watching for contact between tire and strut, tie rod, or fender liner.
- Compress the suspension by hand or with a floor jack to simulate ride height changes and check for contact at full compression.
- Use thin wheel spacers (3 to 5 mm) as a reversible test that replicates the lateral shift a new offset would cause, without committing to a wheel purchase.
- Drive on varied surfaces, not just a flat, smooth driveway, since real fitment problems often surface over dips and expansion joints.
Pro Tip: Start with the thinnest spacer that gets you close to the target offset, not the thickest one you can find. It’s far easier to add a millimeter of spacer later than to explain a bent tie rod.
What’s the Safe Offset Change From Stock?
Numbers like ET+35 and ET+40 look nearly identical on paper, but the 5 mm gap between them is the entire difference between clean clearance and a caliper strike in a tight setup. An ET+35 wheel positions the mounting surface 35 mm outboard of centerline. Move to ET+40 and the wheel sits 5 mm further inboard, toward the suspension, all else being equal.
That 5 mm sounds trivial until it’s the exact margin separating a quiet brake caliper from one that taps the barrel every time the suspension compresses over a pothole.
- Stock ET+45 dropped to ET+35 pushes the wheel 10 mm outward, toward the fender.
- Stock ET+45 dropped to ET+25 pushes the wheel 20 mm outward, enough to require fender rolling or flares on most platforms.
- Stock ET+45 raised to ET+50 pulls the wheel 5 mm inward, usually safe, but worth a caliper check on tightly packaged chassis.
A conservative rule of thumb among fitment-focused shops: stay within roughly 5 mm of factory offset unless you’ve already confirmed clearance through spacer testing or a documented fitment guide for that exact platform. Beyond that margin, get a professional check, particularly on any car running big brakes, coilovers, or a body kit that changes fender geometry.
Common Offset Mistakes and Red Flags to Watch For
Most fitment problems trace back to measurement errors made before the wheel ever reached the car. The most frequent one: measuring width edge-to-edge on the physical wheel instead of accounting for the roughly 22 mm of flange thickness that separates advertised bead-seat width from the wheel’s actual outer dimension. Get that wrong and every downstream offset calculation is off by several millimeters.
Ignoring suspension travel is the second big one. A wheel that clears everything with the car sitting still on a lift can still make contact the moment the suspension compresses under braking or hits a dip. Static checks alone miss this every time.
A wheel that clears at ride height but hasn’t been checked at full steering lock and full suspension compression hasn’t actually been tested. It’s been guessed at.
Watch for these red flags during a test fit:
- Visible scrape marks or shiny contact points on the inner barrel after driving.
- A grinding or tapping sound at full steering lock, especially over speed bumps.
- Uneven tire wear appearing within the first few hundred miles, often a scrub radius or camber interaction.
- Any contact between spacer and caliper, or wheel and control arm, during compression testing.
If any of those show up, stop and re-evaluate before putting more miles on the car. The corrective action is almost always the same: go back to the offset math, confirm actual bead-seat width instead of assumed width, and retest with a thinner spacer before trying anything wider.
Quick 7-Point Wheel Fitment Checklist
Print this or save it before your next wheel purchase.
- Confirm factory offset on the current wheel before shopping for a replacement.
- Verify hub bore matches the vehicle exactly, or that hub-centric rings are included.
- Match bolt pattern precisely, including thread pitch on the lug studs.
- Check outer clearance to the fender lip at full steering lock.
- Check inner clearance to control arms, tie rods, and the strut body.
- Confirm brake caliper clearance, front and rear, with the specific tire mounted.
- Run a spacer test and record the result, including any rub points, before ordering.
Photograph the test fit from multiple angles and note any tight spots with measurements, not just “looks close.” Six months later, that photo is the difference between a quick spacer swap and reordering an entire wheel set.
Does Offset Affect Tire Wear and Safety?
An offset that’s wrong for the vehicle changes camber and scrub radius interactions in ways that show up as uneven tread wear, usually along one edge of the tire, within a few thousand miles. That’s a direct mechanical consequence of shifting the tire’s contact patch relative to the suspension’s geometry, not a coincidence of bad luck or road conditions.
Safety concerns run deeper than cosmetic tread wear. An offset pushed too far from factory spec increases lateral load on the wheel bearing and can alter how the suspension’s components interact under hard cornering or braking. In extreme cases, incorrect offset causes physical contact between the tire and brake lines, ABS sensor wiring, or suspension components, damage that isn’t always visible until a failure happens at speed. That’s why staying close to a tested offset range, and verifying clearance through the checklist above, matters more than chasing the widest wheel that will physically bolt on.
Do Trucks, Cars, and Sports Cars Need Different Offset Approaches?
Trucks and SUVs tend to run more negative offset than passenger cars, partly because backspacing has historically been the truck-world spec of choice, and partly because wider track width improves stability with larger tires and off-road suspension travel. But that same negative offset increases lateral bearing load and steering effort, which matters more on a vehicle already carrying heavier loads.
Passenger cars and crossovers lean positive, often ET+35 to ET+50, because tight engine bays and compact suspension geometry leave little room to push the wheel outward without hitting a strut or tie rod. Sports cars and performance platforms sit in between, frequently running a slightly more aggressive (lower) offset than an equivalent economy car to widen the front and rear track for grip, but rarely straying into truck-level negative territory since brake packages and suspension geometry on performance cars are engineered around a tighter tolerance.
How Does Offset Change a Car’s Stance?
Offset is the single spec that decides whether a car looks tucked-in and factory-conservative or pushed-out and aggressive. Drop the offset (more negative or less positive) and the wheel face moves closer to, or past, the fender line, producing the flush or poke look that stance builds chase. Raise the offset and the wheel retreats under the fender arch, which is safer for clearance but reads as understated, even timid, on a car with flared or widened bodywork.
This is exactly where offset intersects with automotive styling choices more broadly: a wide-body kit designed around a specific track width only looks intentional when the wheel offset matches the fender flare’s projection. Mismatch the two, wheel tucked in under flares built for a flush fitment, and the car looks unfinished no matter how good the individual parts are.
Which Aftermarket Mods Change Your Effective Offset?
A handful of common upgrades shift effective offset without anyone touching the wheel spec itself. Wheel spacers are the most obvious, adding a fixed number of millimeters of outward push without changing the wheel. Wider aftermarket wheels, even at the same nominal offset as stock, move the tire outward simply because more width sits outboard of the mounting pad. Wide-body or carbon fiber body kits that flare the fenders create room for wheels that would otherwise rub, effectively changing what counts as a “safe” offset for that specific car. Coilover installs that drop ride height can also close up clearance gaps that existed at stock height, turning a previously safe offset into a marginal one at full compression.
Any one of these changes on its own is manageable. Stack two or three together, wider wheels, a lower ride height, and a body kit, and the fitment math needs to be redone from scratch rather than assumed to still work.
An Engineer’s View on Offset, From the ASM Bench
Every fitment problem we’ve diagnosed traces back to someone treating offset as a single number instead of a system. The wheel, the brake package, the suspension geometry, and, increasingly, the body kit all have to agree with each other. Change one without checking the others and something eventually makes contact, usually at the worst possible moment, full steering lock in a parking garage or hard braking into a corner.
Our approach starts conservative: stay as close to a platform’s proven offset range as the design allows, then verify every clearance claim with a physical test fit rather than a spec sheet assumption. When we build wheel packages for specific platforms, we’re not guessing at what clears, we’re matching offset to the exact brake caliper, suspension arm, and fender geometry of that car, the same discipline we apply across platform-specific builds where wheels, aero, and body components have to function as one integrated system rather than three separate purchases hoping to coexist.
The mistake we see most often isn’t an aggressive offset choice. It’s an untested one. A wheel that’s never been mounted and turned to full lock before the buyer already ordered tires for it.
Get Matched Forged Wheels Built for Your Exact Fitment
Guesswork offset shopping ends where platform-specific engineering begins. Asmsportstech builds forged wheels matched to specific chassis, brake packages, and body kits, so the offset, hub bore, and clearance math is solved before the wheel ever ships, not discovered after installation.
Instead of measuring a stock wheel, calculating backspacing, and hoping an aftermarket offset clears your calipers, you get a wheel engineered around your exact platform from the start. That’s the core difference between a generic aftermarket offset chart and a forged wheel program built for your car: the fitment work is already done, verified, and backed rather than left for you to test with spacers in your driveway. If you’re weighing construction methods alongside fitment, the forged versus flow-formed comparison is worth a look too. Start by checking wheel size and fitment options for your specific platform to see what a matched setup looks like before you buy anything.
Sources
- What is wheel offset?
- Understanding wheel offset and fitment
- Wheel sizing
- Understanding wheel fitment, offset and rim sizing
- How to Measure the Offset of a Wheel Step-by-Step Guide